
How to Customize Mittens for Kids

I was checking out at Joann’s the other day, when I spied these adorable pint-sized mittens. I clearly have no need for pint-sized mittens, but then it occurred to me. I know someone who is pint-sized; My nephew! My nephew is not quite big enough to fill-in these mittens, but one day he will be. This just gives him something he will have time to grow into.
I love making cute little monster crafts. Why, you ask? Because when you create a monster, imperfection is a must! You can create any crazy shape you want and put random colors together. Since I am not quite a perfectionist, this is AWESOME for me! I decided on a one-eyed monster for Gavin’s mittens. I mean, what little boy wouldn’t love a cute monster smiling back at him?
Have you ever made anything “monster” related? If so, what did you make?
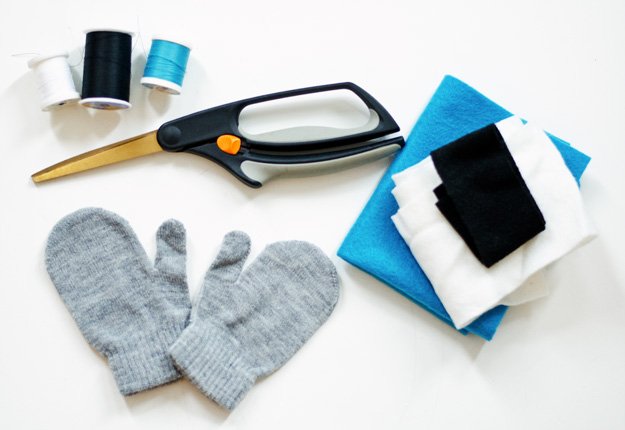
Supplies:
– Blue, Black, White, and Green Felt
– Small Mittens
– Black, White, and Blue Thread
– Needle
– Wonder Under
– Scissors
{Step 1}: Cut out two blue circles with “feet”, two large white circles, two small black circles, and two pieces of zig-zig green “hair”.
{Step 2}: Sew your white circle to the center of your body. Then, sew your small black dots to the center of your large white circle. Straight stitch a cute little side mouth. Sew your green hair to the top of your monster with your blue thread.
{Step 3}: Trace the outside of your monster on your Wonder Under and cut it out. Iron the Wonder Under to the back of your monster. Let your monster cool.
{Step 4}: Peel the paper off of your Wonder Under and center your monster on your mittens. Iron your monster to your mittens. Let cool and enjoy your Monster Mittens!


