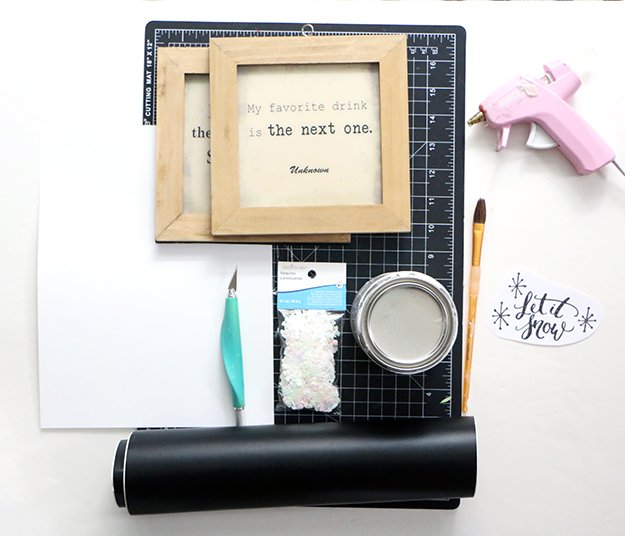
DIY Shadowbox Snowflake Shaker Artwork
I was feeling super inspired the other day when I was roaming the aisles at Michael’s when I spotted there clearance section. I found 2 framed pieces of artwork that were on sale for just $1.00! As I played around with them for a bit, I thought I could glue them together to create a shadowbox frame. Now, shadowbox frames aren’t crazy expensive, but I figured if I could make one for $2 and turn it into a fun wintery scene I was down with it.
There is something about a shadow box frame. The depth and dimension make it way cooler than any regular frame. Am I right? I really wanted to turn my DIY shadowbox frame into a festive holiday decor piece so I grabbed some snowflake sequins to fill that baby up. This was a super simple project. And, once again, if I had a Silhouette or Cricut this project would’ve been even easier! Check out the details below to see how to create your own DIY shadowbox frame perfect for a winery white holiday scene!
Supplies:
2 frames
White Cardstock
White Paint and Paint Brush (If your frame is not already white)
Hot Glue Gun
Black Adhesive Vinyl
Cutting Mat and Craft knife (if you don’t have a electronic die cutting machine)
Snowflake Sequins
Step 1: Paint both of your frames white.
Step 2: Cut your “Let it snow” out of your vinyl by hand or with your machine. You’ll want to make sure you cut your words from the adhesive side of the vinyl since they are going to stick to the glass facing outward. Then, add your vinyl to the glass of one frame.
Step 3: Add hot glue to the back of your frame and glue the other frame to it – this will create your shadowbox.
Step 4: Trace the back piece of one of your frames on a piece of white cardstock and cut it out. Then, glue it to the front of the back piece so the white paper will be seen inside of the frame.
Step 5: With your frame facing down, add a ton of white snowflake sequins to the inside.
Step 6: Finally, add the back part to the frame and you are finished!


