How to Sew a Simple Tank Top

When I am at the fabric store, I tend to walk out with extra fabric that was not on my “list” of items to buy. It’s so hard to stay focused on the task at hand when you are surrounded by so many pretty fabric patterns. I, of course, find myself touching all of the brightly colored bolts of fabric I walk past!
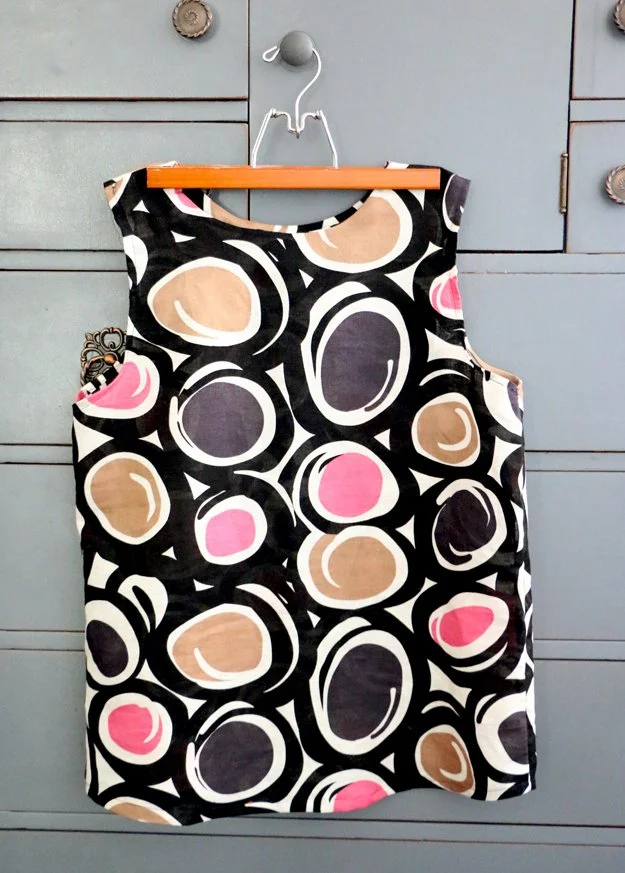
Probably two years ago (maybe even longer!), I picked up this really cool swirly dot linen style fabric. My initial plan when I saw it was to turn it into a light-weight scarf. I thought the colors and pattern would make it a statement piece. Well, my fabric has stayed in a drawer completely untouched for the last two years! I was rummaging through my fabric bin a couple of months ago and decided it was time to use this fabric for a project and turn it into something pretty and useful.
I bought a tank top a while back from J.Crew that had the best shape. It had a high neck and was fitted towards the topped and flared a bit at the bottom. I decided to use this top (along with my fabric I had been hoarding) and make fun, colorful tank top!
Here’s what you’ll need:
Tank Top (to use as your template)
Fabric (I already had a yard of fabric in my stash, but you could use less)
Pins
Scissors
Sewing Machine
Thread
Step 1: Take your fabric and fold it in half. Then, lay your tank top on top of your fabric. Pin it to your fabric to help keep it in place.
Step 2: Cut around your tank top, keeping 1/4 inch seam allowance around the edge of your top. Since you folded your fabric in half, you will have two pieces cut. :) After I cut out the main shape of my tank top, I folded my fabric in half and placed half of the collar interface along the fold. I did this so both the front and the back of my interface were the same.
Step 3: You will want to fold the arm holes of your tank top in twice so you have a nice finished edge. I pressed my arm holes with an iron to get a nice clean finish, then I placed a pin in it to make sewing easier. You will repeat this step on both of your arm holes.
Step 3: After you stitch down both edges on your arm holes, you will pin the sides of your tank top together. Take both the front and back of your tank top and place them so the right sides of the fabric are facing each other. Next, pin down the sides of your tank top to secure your fabric in place. Then, sew the sides of your tank top.
Step 5: I took the interface for my tank top and fold in the edges all around it to finish it. Then, I flipped my tank top so it was right side out and turn my interface so the pattern was facing inward. I pinned the top of my interface to the top of my tank top. Once everything was all pinned in, I sewed around the top of my tank top. After I was done with the sewing, I folded my interfacing in so it was inside of my tank top. Then, I sewed around the top of my tank top to help keep my interfacing from popping out.
That’s it! I am super happy with how my DIY tank top turned out. I am also super excited that I was finally able to use the fabric I had been holding onto for a project that can be worn for years to come!