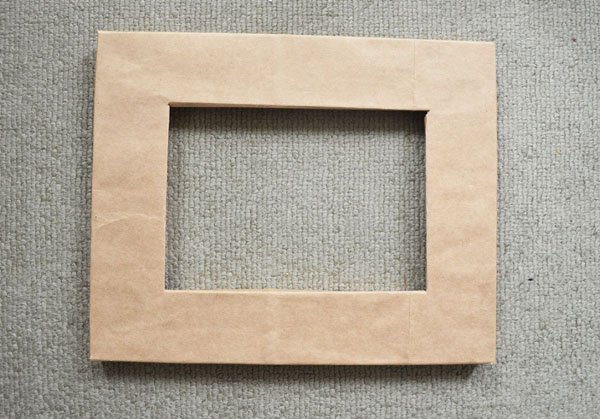
How to Make a Paper Photo Mat
When I came across the below picture frame I thought, “Wow, that picture mat sure looks like a paper bag.” A paper bag, huh? Well, how about a Trader Joe’s paper bag?!? The mat gives the picture a bit of a vintage vibe. Love this!
Supplies:
– Picture frame with a mat
– Trader Joe’s Bag
– Scissors
– Glue
– Pencil
{Step 1}: Cut out one side of your Trader Joe’s bag. Gently rip off the handles (They should come off pretty easy without ripping your bag).
{Step 2}: Place your mat on your bag and trace around the outside and the inside. Make sure the side of the bag with the logo is facing you.
{Step 3}: Cut about a half-inch from your outside traced line and a half-inch away from your inside traced line.
{Step 4}: Cut an angled slit on all four outer corners of your square and all four inner corners of your square.
{Step 5}: Fold the outside corner slits down like in the below picture.
{Step 6}: Place your mat back on your paper bag. You will now fold the outer and inner edges over your mat and glue.
You now have a nicely paper wrapped picture mat!


